

Halloween is my 5 year old son’s favorite holiday. I think he might like it even better than Christmas. (Just don’t ask him on Christmas morning.) On the other 364 days of the year, though, Halloween is definitely the winner.
He always wants to go all out decorating our house. We get the boxes out of the attic and start going through the decorations. We always buy one or two new decorations each year so you’d think we would have a pretty good collection by now but every year I find myself asking, “where did all the decorations go?”
I guess when you have a 5 year old brimming with Halloween excitement, there is never enough!
But decorations can get expensive in a hurry. So I figure, instead of throwing a bunch of money at it, let’s make our own. It’s a great activity for the kids, gets them involved in the excitement of the holiday and, best of all, it fills in the “Craft” blank in my weekly school planner.
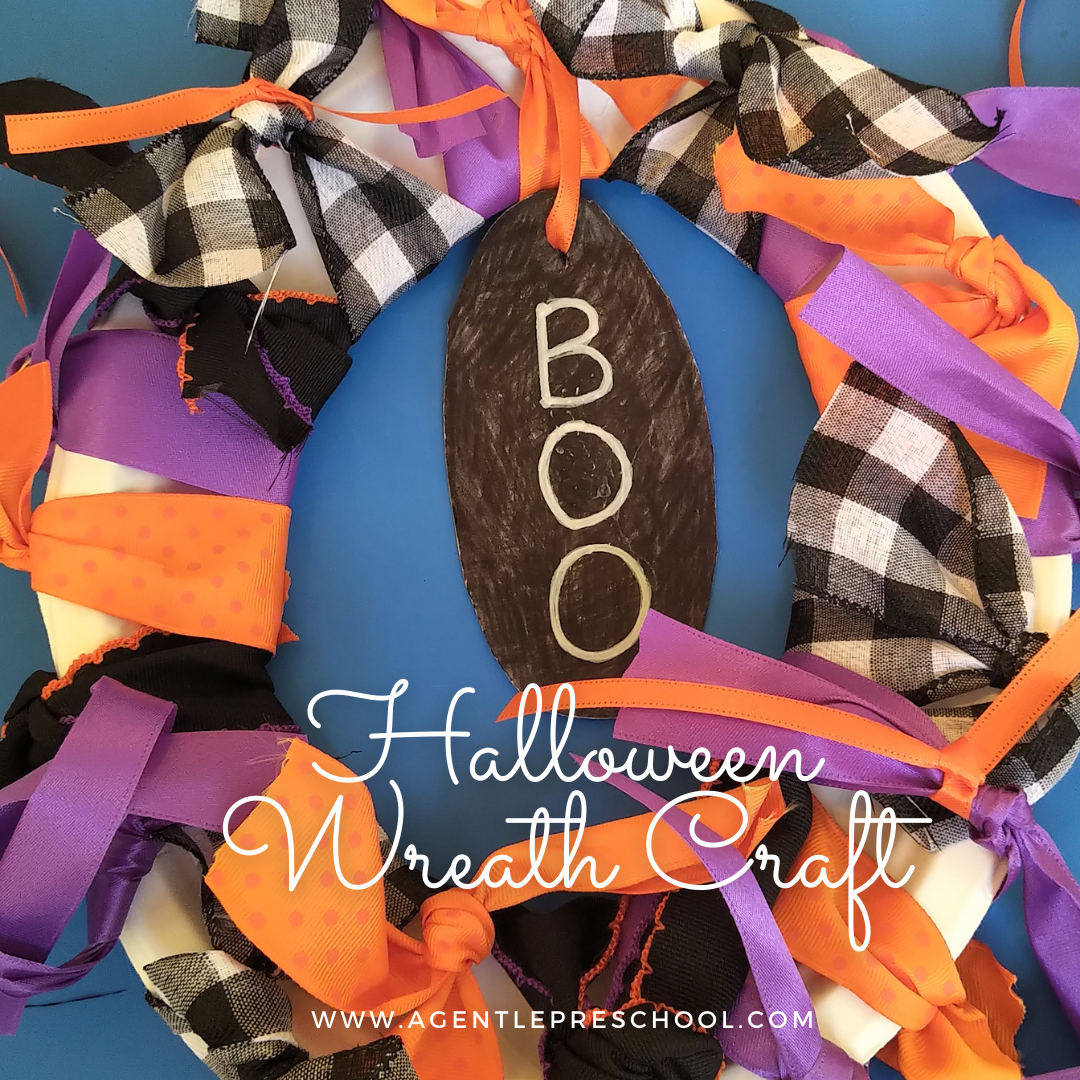
This week we made Halloween ribbon wreaths.
Here’s what you’ll need:

- paper plates (1 per child)
- scissors
- black and white markers or paint pens
- 3-5 different kinds of Halloween ribbon
Notes:
- I only had oval plates on hand and they worked out just fine. Use whatever you have.
- Ribbon can be expensive so you could substitute fabric by the yard or even old t-shirts cut into strips
The beauty of this craft is its flexibility and a lot of room for error! It works for any age and skill level as long as your kiddos can color and cut.
Step 1:
Cut out the centers of the plates. Save them for step 2. You can see my cuts were very rough and uneven but it won’t be seen after the ribbon gets tied on.

Step 2:
Trim about 1-2 inches off the diameter of the plate centers so that they will hang freely when reattached to the plates. Trace your shape first for a more even cut.


Step 3:
Have your child color or paint the plate centers black.


Step 4:
Using the white paint pen, write “BOO” on the plate center. If your child knows how to write, he may want to write it himself. When finished, set the painted plate centers aside to dry while you work on the ribbon.


Step 5:
Cut strips of ribbon (appx 12-15 inches in length, depending on the ribbon) and double knot them onto the plates. Continue until the plate is covered with ribbon.
My kids love using scissors and will cut anything they can get their hands on so this was a perfect cutting activity for them. I held out the length of ribbon we needed and told them where to cut. This keeps them involved in the activity while still moving things along at a decent pace.


Step 6:
Poke a hole towards the top of the painted plate center. Then, thread a thin ribbon through the hole and use the ribbon to tie the plate center onto the wreath so it dangles in the center.
Step 7:
Tie a separate ribbon onto the top of the wreath, leaving a few inches between the knot and the top of the wreath. This is how you will hang the wreath.

Finished!
Hang it on their bedroom door or any other special place they choose so they can admire their hard work.

I hope you enjoy this simple Halloween craft with your kiddos. Next week we will be smashing pumpkins (yes, really!) so stay tuned for that!